Introduction
Kayako messenger is a new way to interact with your customers in real-time. This guide gives you in-depth understanding on how to integrate messenger on your website and usage of the Javascript SDK.
Embedding on your website
Messenger can be embedded on any website by following the below steps.
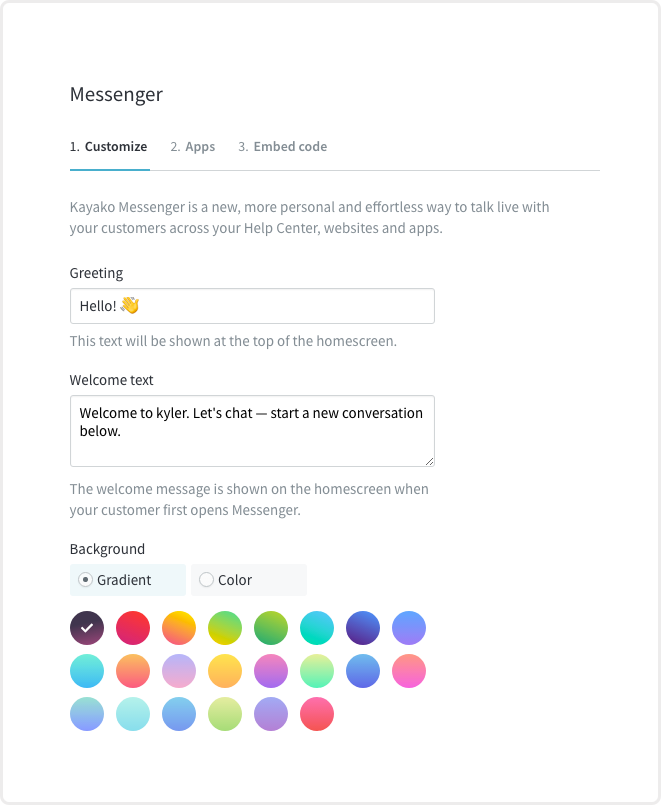
Step 1: Generate embed code The embed code is generated from the admin interface.
Step 2: Add it your website
Once you have the embed code generated, just paste it to your website HTML before the closing </body> tag.
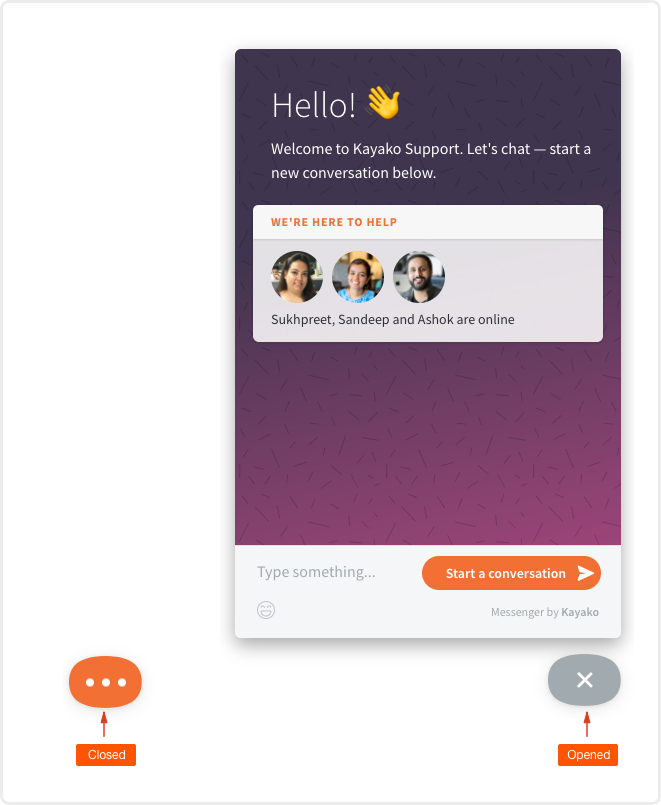
That's all 🎉. Now you will be able to see messenger icon on the bottom right of the webpage.
Javascript API
Once you have placed the embed code to the webpage, you will have access to the kayako global attached to the browser window, which can be used to tweak the messenger layout and integrate it tightly with your website.
Before getting started make sure you are on the latest/desired version of messenger.
console.log(kayako.version)
// v2.3
The Ready Callback
It is strongly recommended to wrap your messenger specific code inside the ready callback, which is executed once kayako messenger is loaded successfully.
kayako.ready(function () {
  // here goes your code
})
Debugging
You can call kayako.setLogLevel('trace') in order to start debugging. In trace mode the messenger will write to the browser console. Following is the list of available modes.
- trace - Verbose mode to log everything.
- error - Only log errors.
- warning - Log errors and warning both
- silent - Turn logging off.
What's Next?
The following topics will share more about available SDK methods, events and settings.